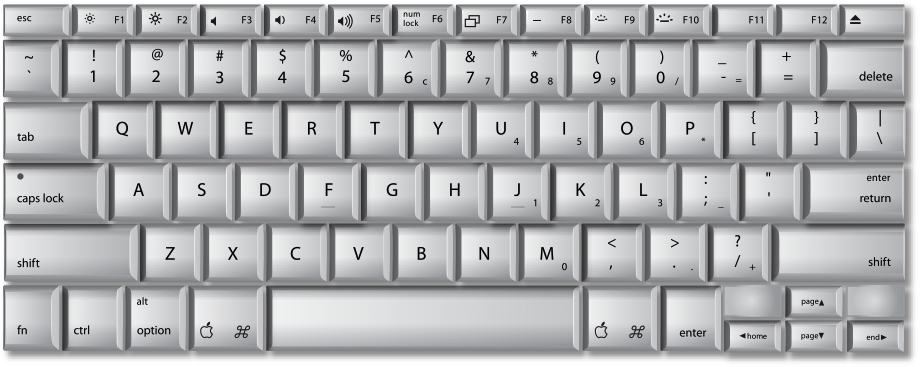
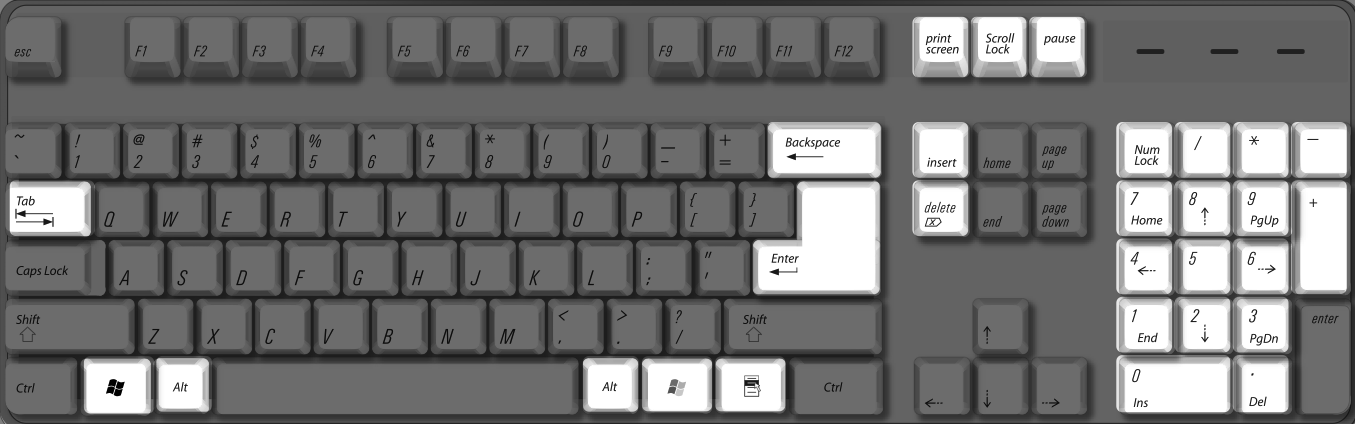
of your PC files and use them just like you have before
You can easily move your Windows files to your new Mac and use them with Mac applications. Macs can open many different kinds of files from your PC, as long as you have appropriate software installed that can interpret them.
For example, you can move all of your Microsoft Office documents to your Mac if you have Microsoft Office for Mac OS X installed—Office functions almost exactly the same on a Mac as it does on a PC. Likewise, you can move any Photoshop (.psd) file to your Mac and open it as long as you have Adobe Photoshop (or Photoshop Elements) for Mac installed (Photoshop has many of the same interface on both platforms). Ditto for your Quicken, FileMaker Pro, Macromedia Studio, QuarkXPress, QuickBooks, and other application files; if you have a Mac version of the software, you can open your old PC files.
For audio files (MP3, WAV, AAC QuickTime, AIFF, and so on), image files (JPEG, PDF, TIFF, GIF, RAW, and the like), or movie files (MPEG-4, DV, Flash, AVI, QuickTime, and more), you can move practically all of them to your Mac. You can use iTunes or QuickTime Player (included with your Mac) to play almost any audio file, iPhoto or Preview to view practically any image file, and QuickTime Player to watch most movie files.
If you're unsure that a manufacturer makes a Mac version of your Windows software, you can either visit the manufacturer's website or check out Apple Downloads, Apple Store, or App Store to see numerous products made for Mac. Check your PC software install discs too—some manufacturers release both Mac and Windows versions of the software in the same package.
Using Migration Assistant
Migration Assistant helps you easily transfer your file from your PC or Mac to another Mac. You can transfer your user account—including all of your pictures, music, and files.

- Your custom desktop picture from your PC is set as your desktop picture.
- Your email accounts, which include your email messages and attachments, are set up in Mail.
- Your contacts are in Address Book.
- Your calendar accounts, which include your meetings and events, are set up in iCal.
- Your web browser's bookmarks, favorites, and homepage are setup in Safari.
- Your iPhone or iPod touch applications you bought in iTunes on your PC are in iTunes on your Mac. If your music was in iTunes on your PC, your music is also on iTunes on your Mac.
- Your Files from My Documents (Documents), My Videos (Videos), My Music (Music), or My Pictures (Pictures) folders are in the Documents, Movies, Music, or Pictures folders in Finder.
- Your Files from the PC's desktop are on your Mac's desktop.
Transfer information from your PC over your wired or wireless network
To move files using Migration Assistant to your Mac from your PC on the same network.

- Make sure both computers are turned on and connected to your network.
- Open Migration Assistant on your PC. If you don't have Windows Migration Assistant on your PC, you can download if from the Apple website and install it.
- Click Continue.
- On your Mac, Open Migration Assistant (located in Applications/Utilities/).
- When you're asked how you want to transfer your information,choose "From another Mac, PC, Time Machine backup, or other disk".
- Click Continue.
- When prompted, enter your name and password.
- Select "From another Mac or PC".
- Click Continue.
- When prompted, click Continue to quit other applications. Other applications can't be open on your Mac during the transfer.
- Select your PC, then wait for the PC to show the passcode displayed on your Mac.
- On your PC you should see the passcode that was displayed on the Mac, then click Continue.
- Select the information you want to transfer to your Mac, then click Continue.
Note: When you first log in, you are prompted to enter a new password for the user account.
Manually migrating
if you prefer to move your files one by one between a Mac and a PC, consider the following options. Some are easier than others, and some require more computer experience, equipment, or resources.
Generally, you can migrate your files to the Mac by:
- Copying the files from your PC onto external or removable storage media and then use that media in your Mac to transfer the files to your hard drive.
- Sending files over the Internet. If you have an email account, just send the files to yourself from the PC and then pick the mail up on your Mac and save the attached files to your Mac hard drive. You may want to zip larger groups of files first.
- Connecting the Mac and PC together through a network to use file sharing to move the files.
- move your PC My Pictures photos to your Mac’s Home folder Pictures folder
- move your PC My Music song files to the Music folder on your Mac
- move your PC My Videos files to the Movies folder on your Mac
- move PC text and PDF files to your Mac Documents folder
- export PC contacts to vCards, and import them into your Mac Address Book...and so on.
Use external or removable media
If your Windows computer has a CD or DVD drive, or a USB port:
- Copy the files from the PC to an external hard drive or storage device, then reconnect the drive to your Mac and transfer the files to your Mac hard drive.
- Burn files to a CD or DVD on your PC, and then use the discs in your Mac to transfer the files to your Mac hard drive.
- If you don't have many files, transfer them over email, create zip files for larger groups of files. Mail your files from the PC to yourself, and then pick them up using Mail on the Mac.
Use a network connection
Connect your old PC to your Mac—either directly or over a network. Before you start moving files over, you should install any Mac software that is needed to open the files. Once you're done, use one of the following migration methods.
Direct connect
To move files by connecting your Mac directly to your PC, if both have an Ethernet port:
- Connect your Mac to your PC using a standard Ethernet cable.
- Make sure that both computers are turned on.
- In the Finder on your Mac, choose Connect to Server from the Go menu to open the window.
- Type your PC's network address in the Server Address text box using one of these formats: smb://DNSname/ShareName or smb://IPaddress/ShareName
- Click Connect.
- Follow the onscreen instructions to enter your PC's workgroup name, user name, password, and the volume or folder you wish to access.
- Your PC volume should appear on your Mac Desktop.
- Open the volume and drag and drop files directly from it to anywhere on your Mac.
- When finished, drag your PC volume to the Trash to unmount it.
Network connection
To move files by connecting your Mac to your PC on the same network:
- Make sure that both computers are turned on and connected to the Internet.
- In the Finder on your Mac, choose Connect to Server from the Go menu to open the window.
- Type your PC's network address in the Server Address text box using this format: smb://ServerName/ShareName , or select the name of your PC in this window (if it appears).
- Click Connect.
- Enter your PC's workgroup name, your user name, and your password when prompted, then select the volume or folder you wish to access.
- Your PC volume should appear on your Mac Desktop.
- Open the volume and drag and drop files directly from it to anywhere on your Mac.
- When finished, drag your PC volume to the Trash to unmount it.
Alternative methods
Copy files to a shared file server.
Purchase PC Data Transfer service at your local Apple retail store.